
100% Fresh Milled Sourdough Sandwich Loaf
the benefits of Fresh milled flour
White flour (and even “whole wheat” flour) found in stores is a dead food. All nutrients have been stripped from it by removing the bran and the germ. The vitamins, minerals, fiber, and fatty acids are in the bran and the germ, which have been missing from our flour since the early 1900’s. Seeing the increase of disease and birth defects, they tried to correct their mistake by fortifying the flour with synthetic B vitamins, synthetic iron, and folic acid (the synthetic version of folate). They also began chemically bleaching and conditioning the flour with potassium bromate. It’s one of the most adulterated foods on the market today. Fresh milled wheat on the other hand, is a whole food with the bran, germ, and endosperm consumed together, giving our bodies the protein, fat, fiber, vitamins, and minerals that are supposed to be there. Wheat done right is a health food. I highly recommend looking into the work of Sue Becker for more information about this!
how to get fresh milled flour
The best way to get fresh milled flour is to mill your own at home. I purchase wheat berries in bulk and mill them into flour using my Nutrimill Harvest. I’ll admit it was intimidating at first, but now I can do it in my sleep. And it hardly adds any time to the baking process. After milling, flour loses its benefits quickly, so it’s best to mill at home and use right away, or mill at a friend’s and store it in your freezer. You can use my code KAETLYN20 for $20 off your Nutrimill purchase at checkout.
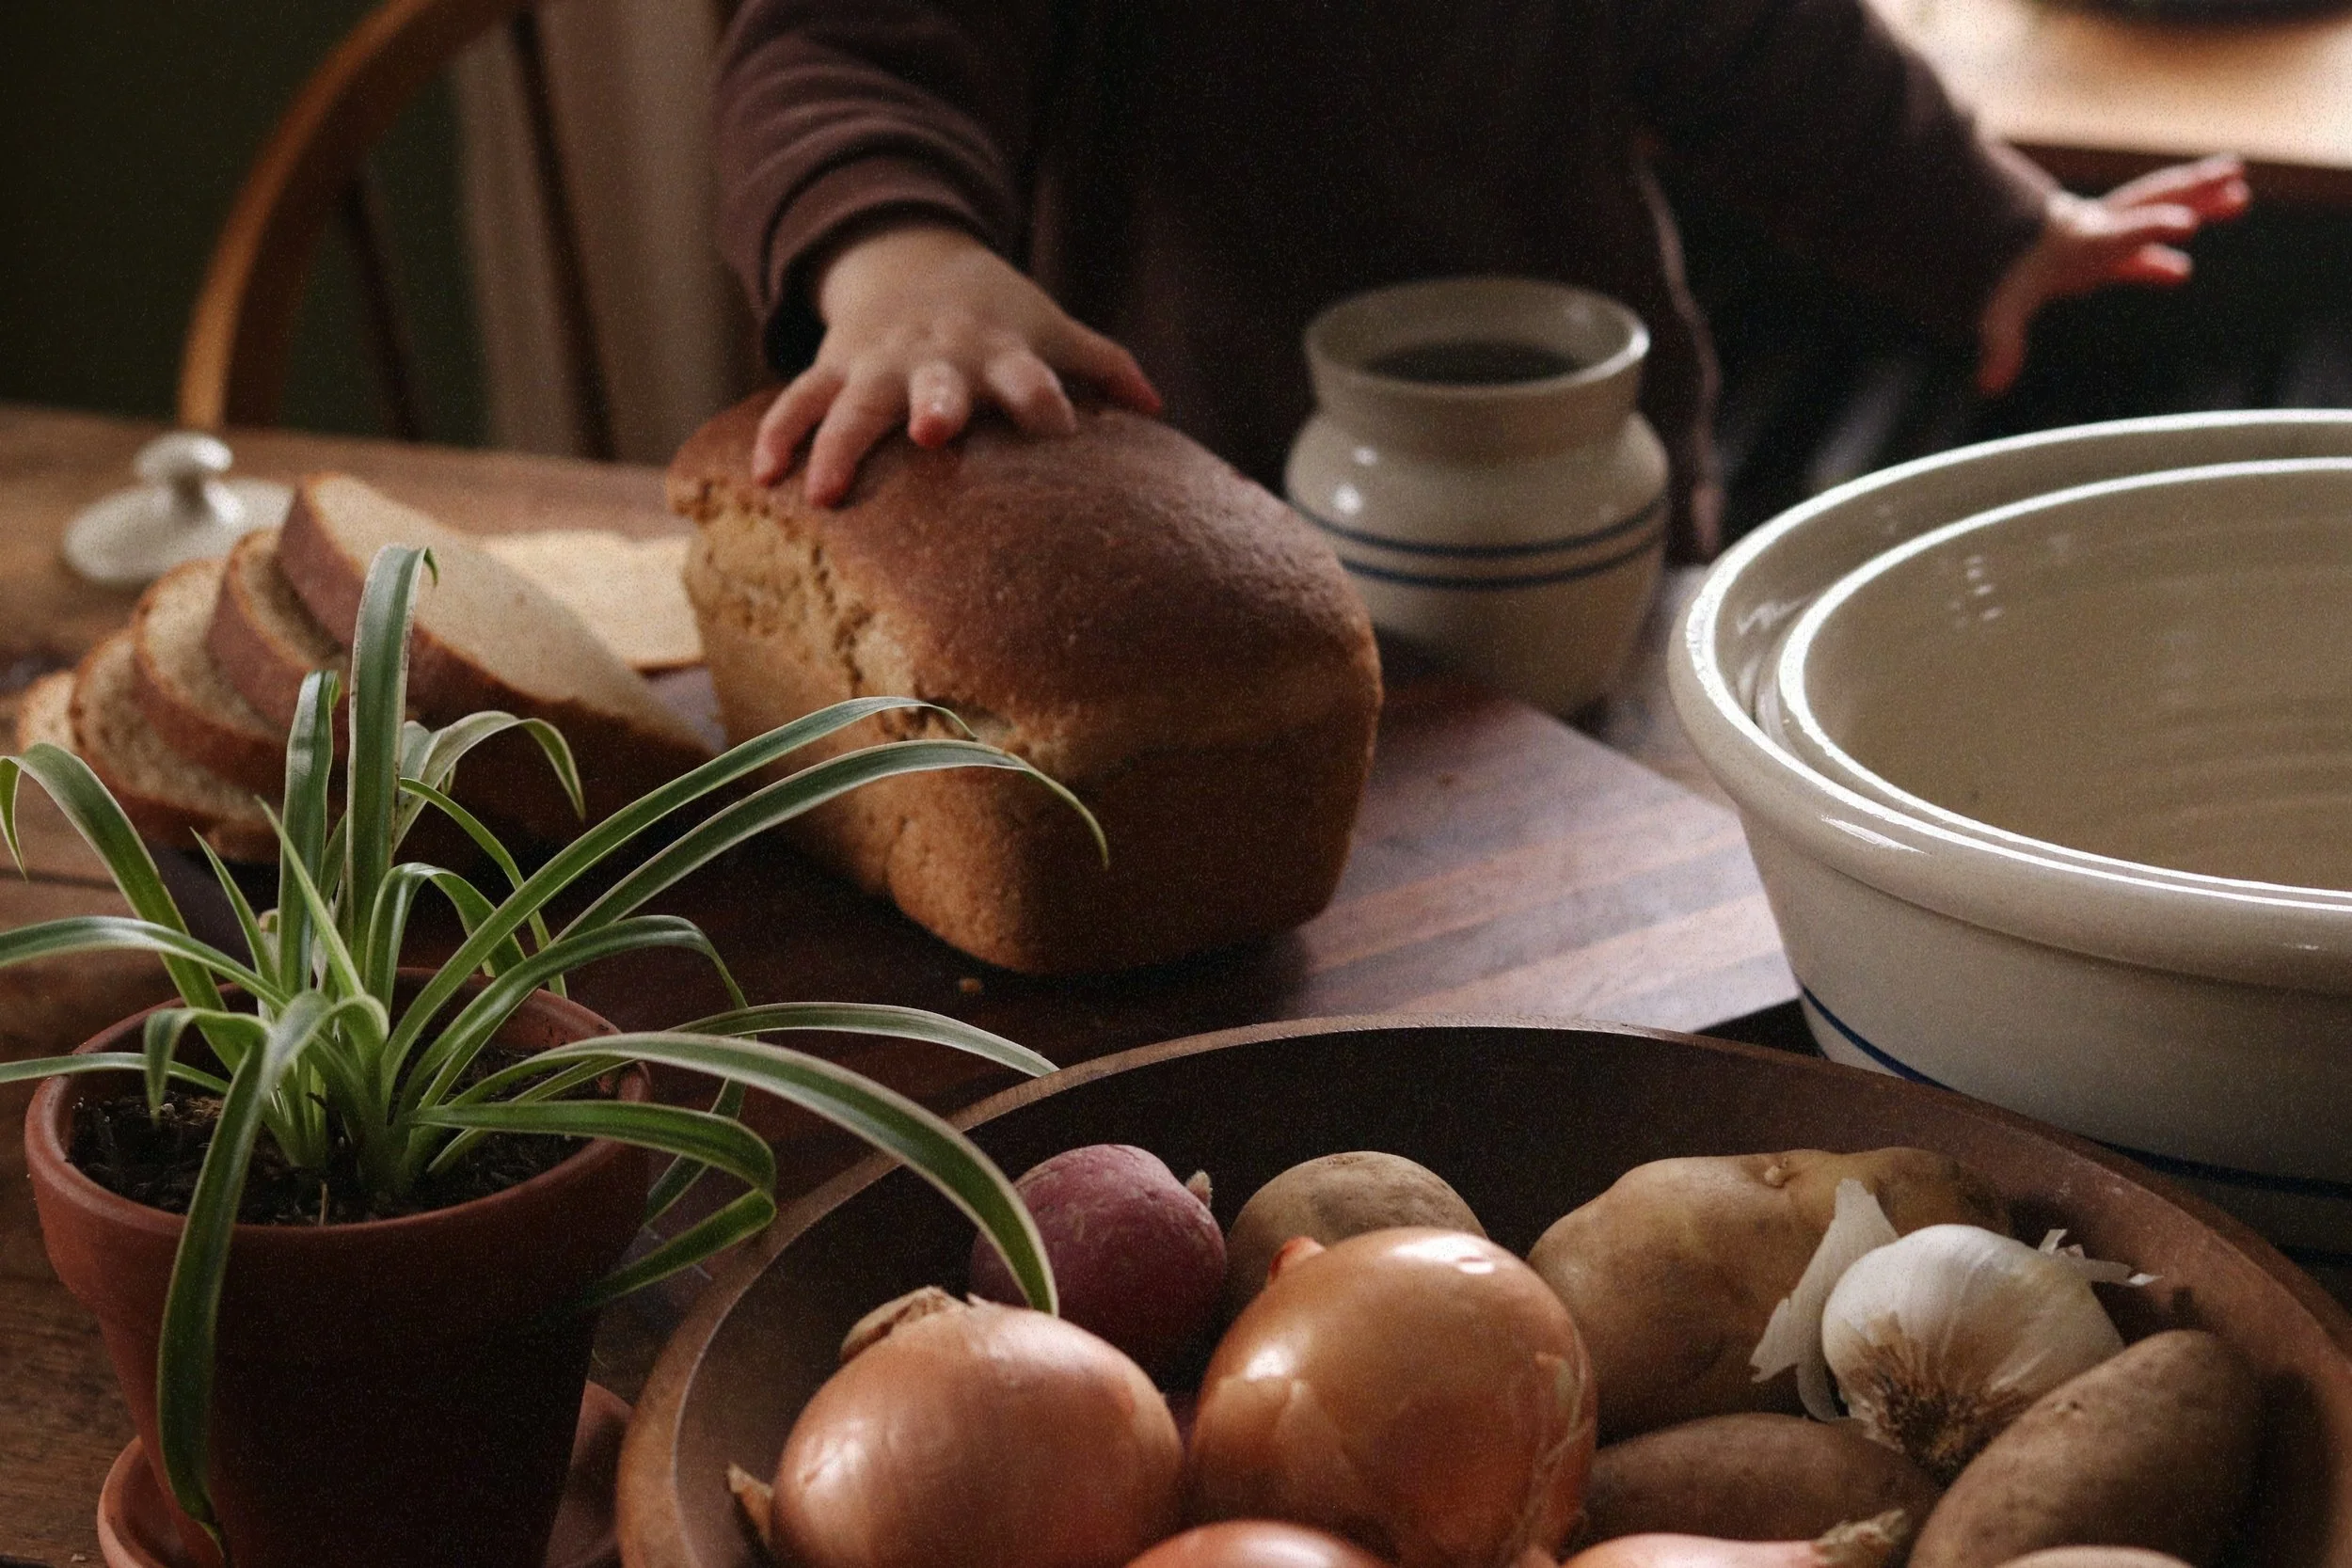
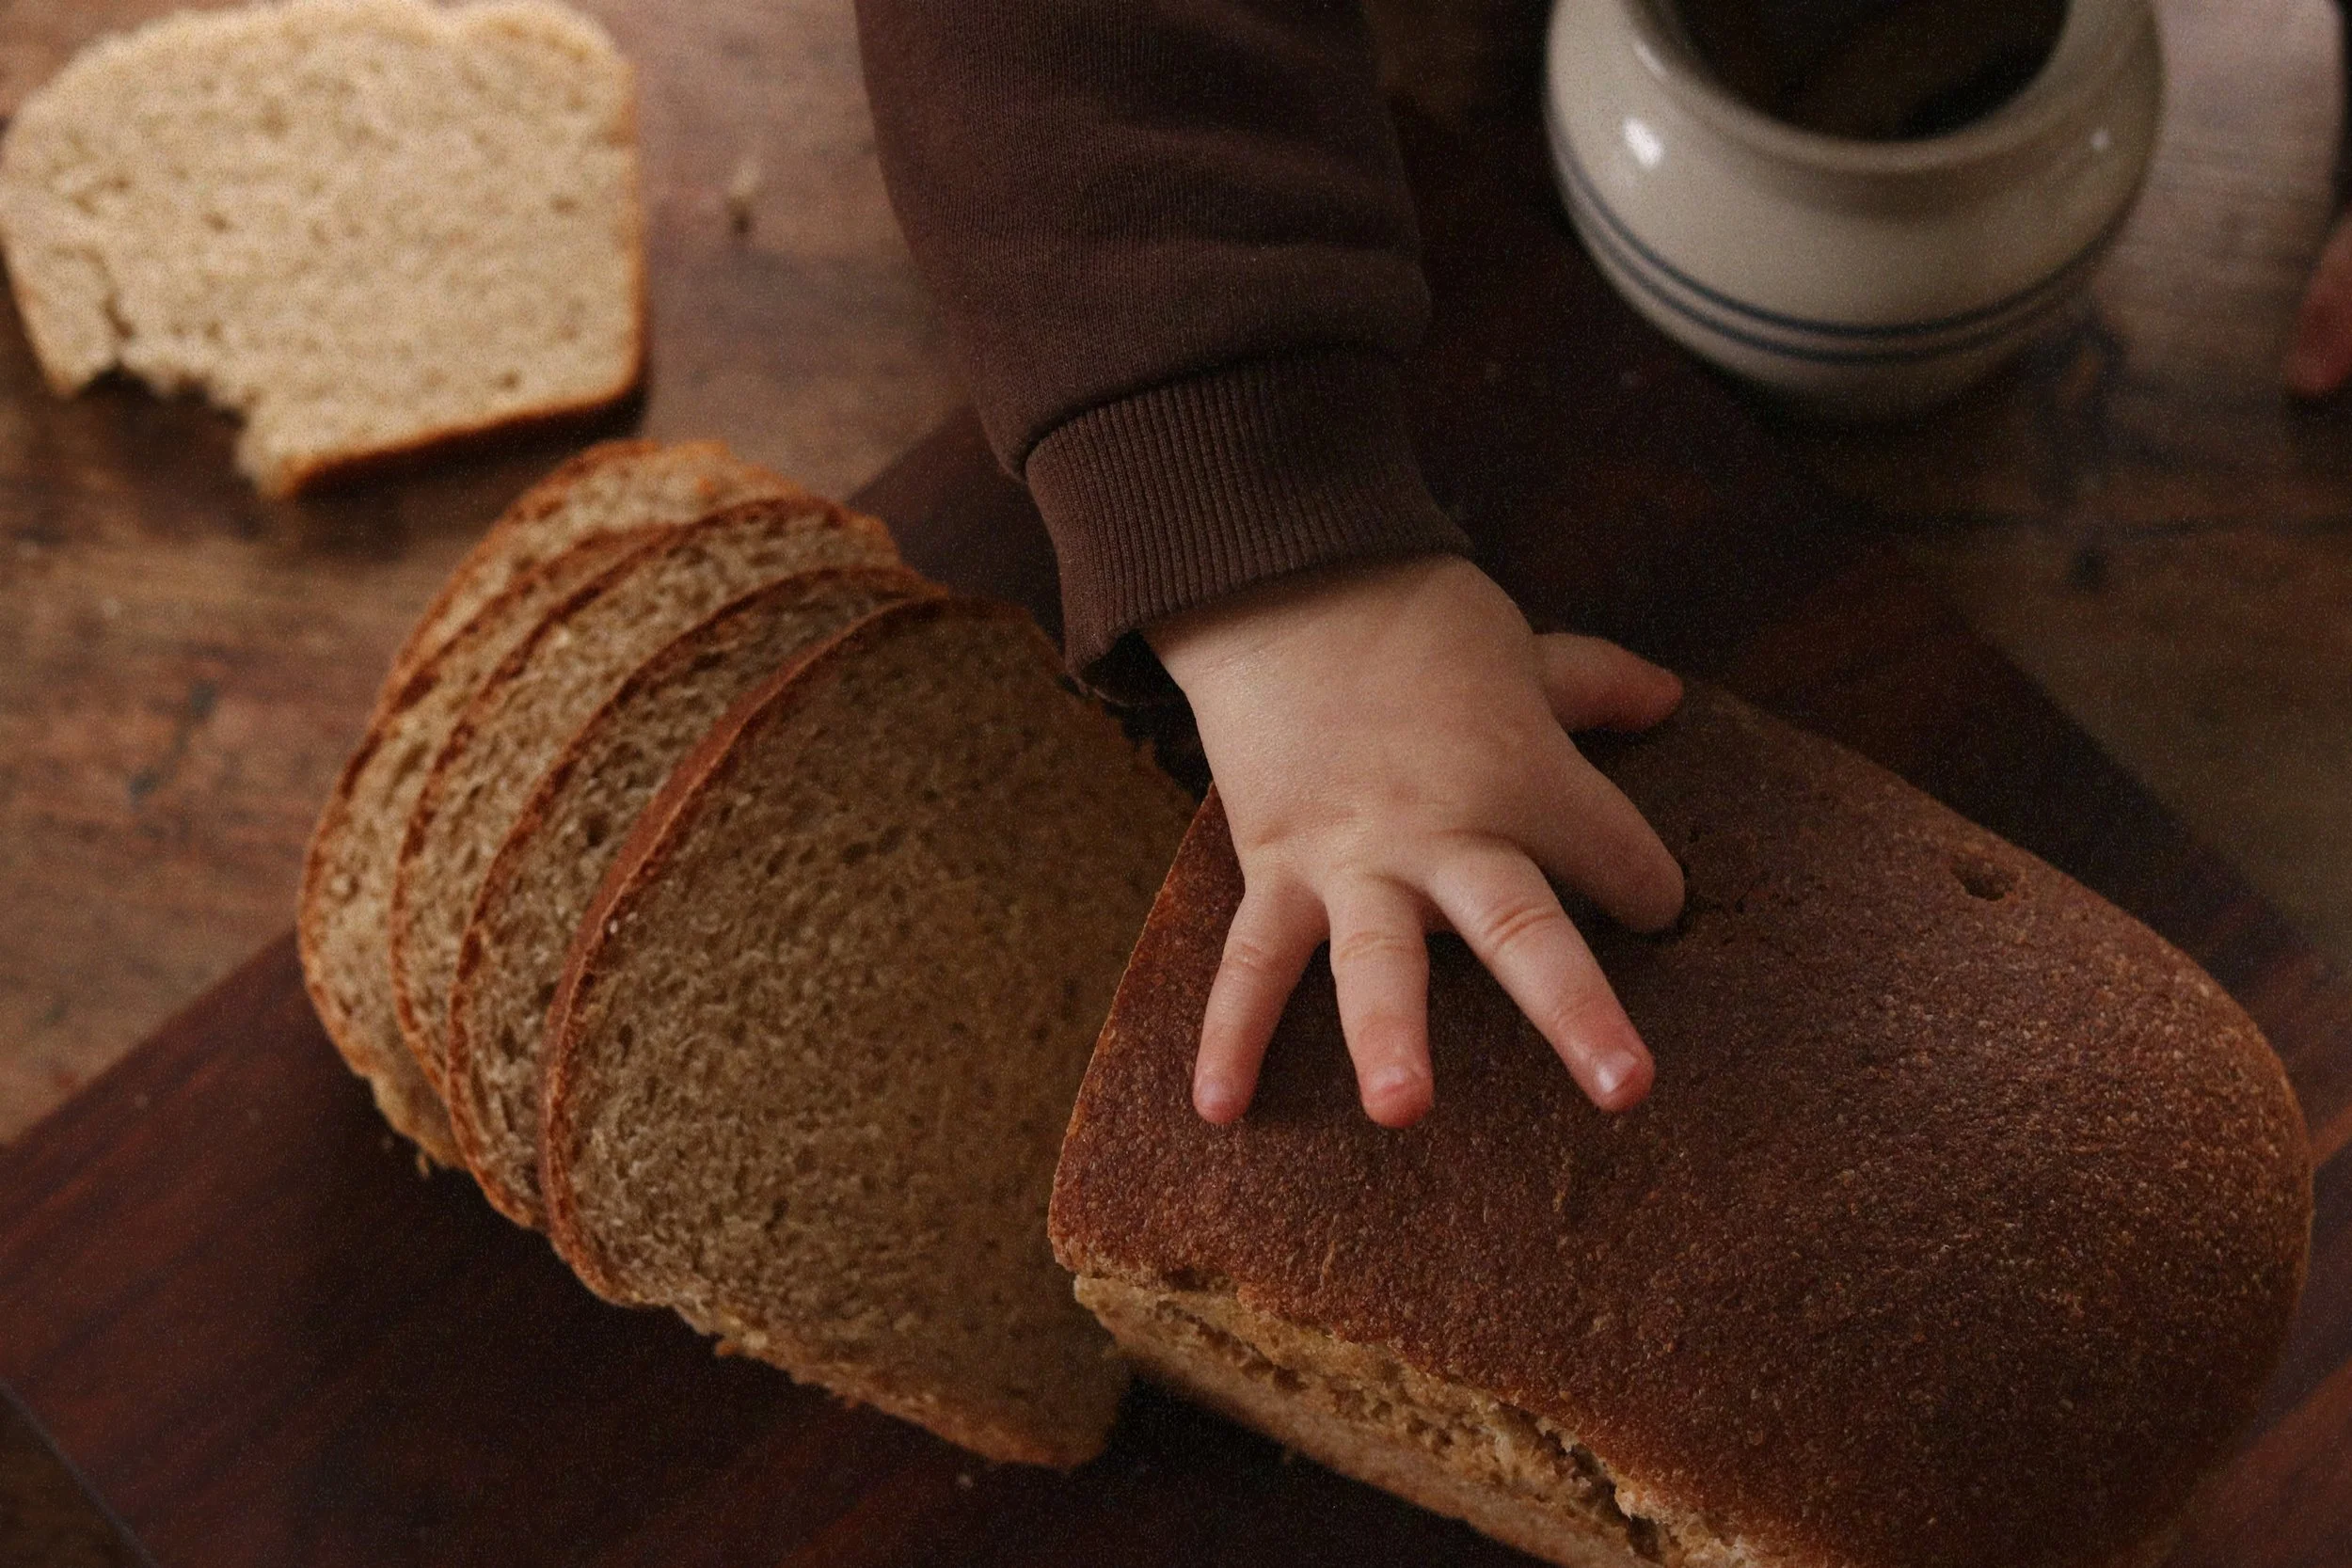
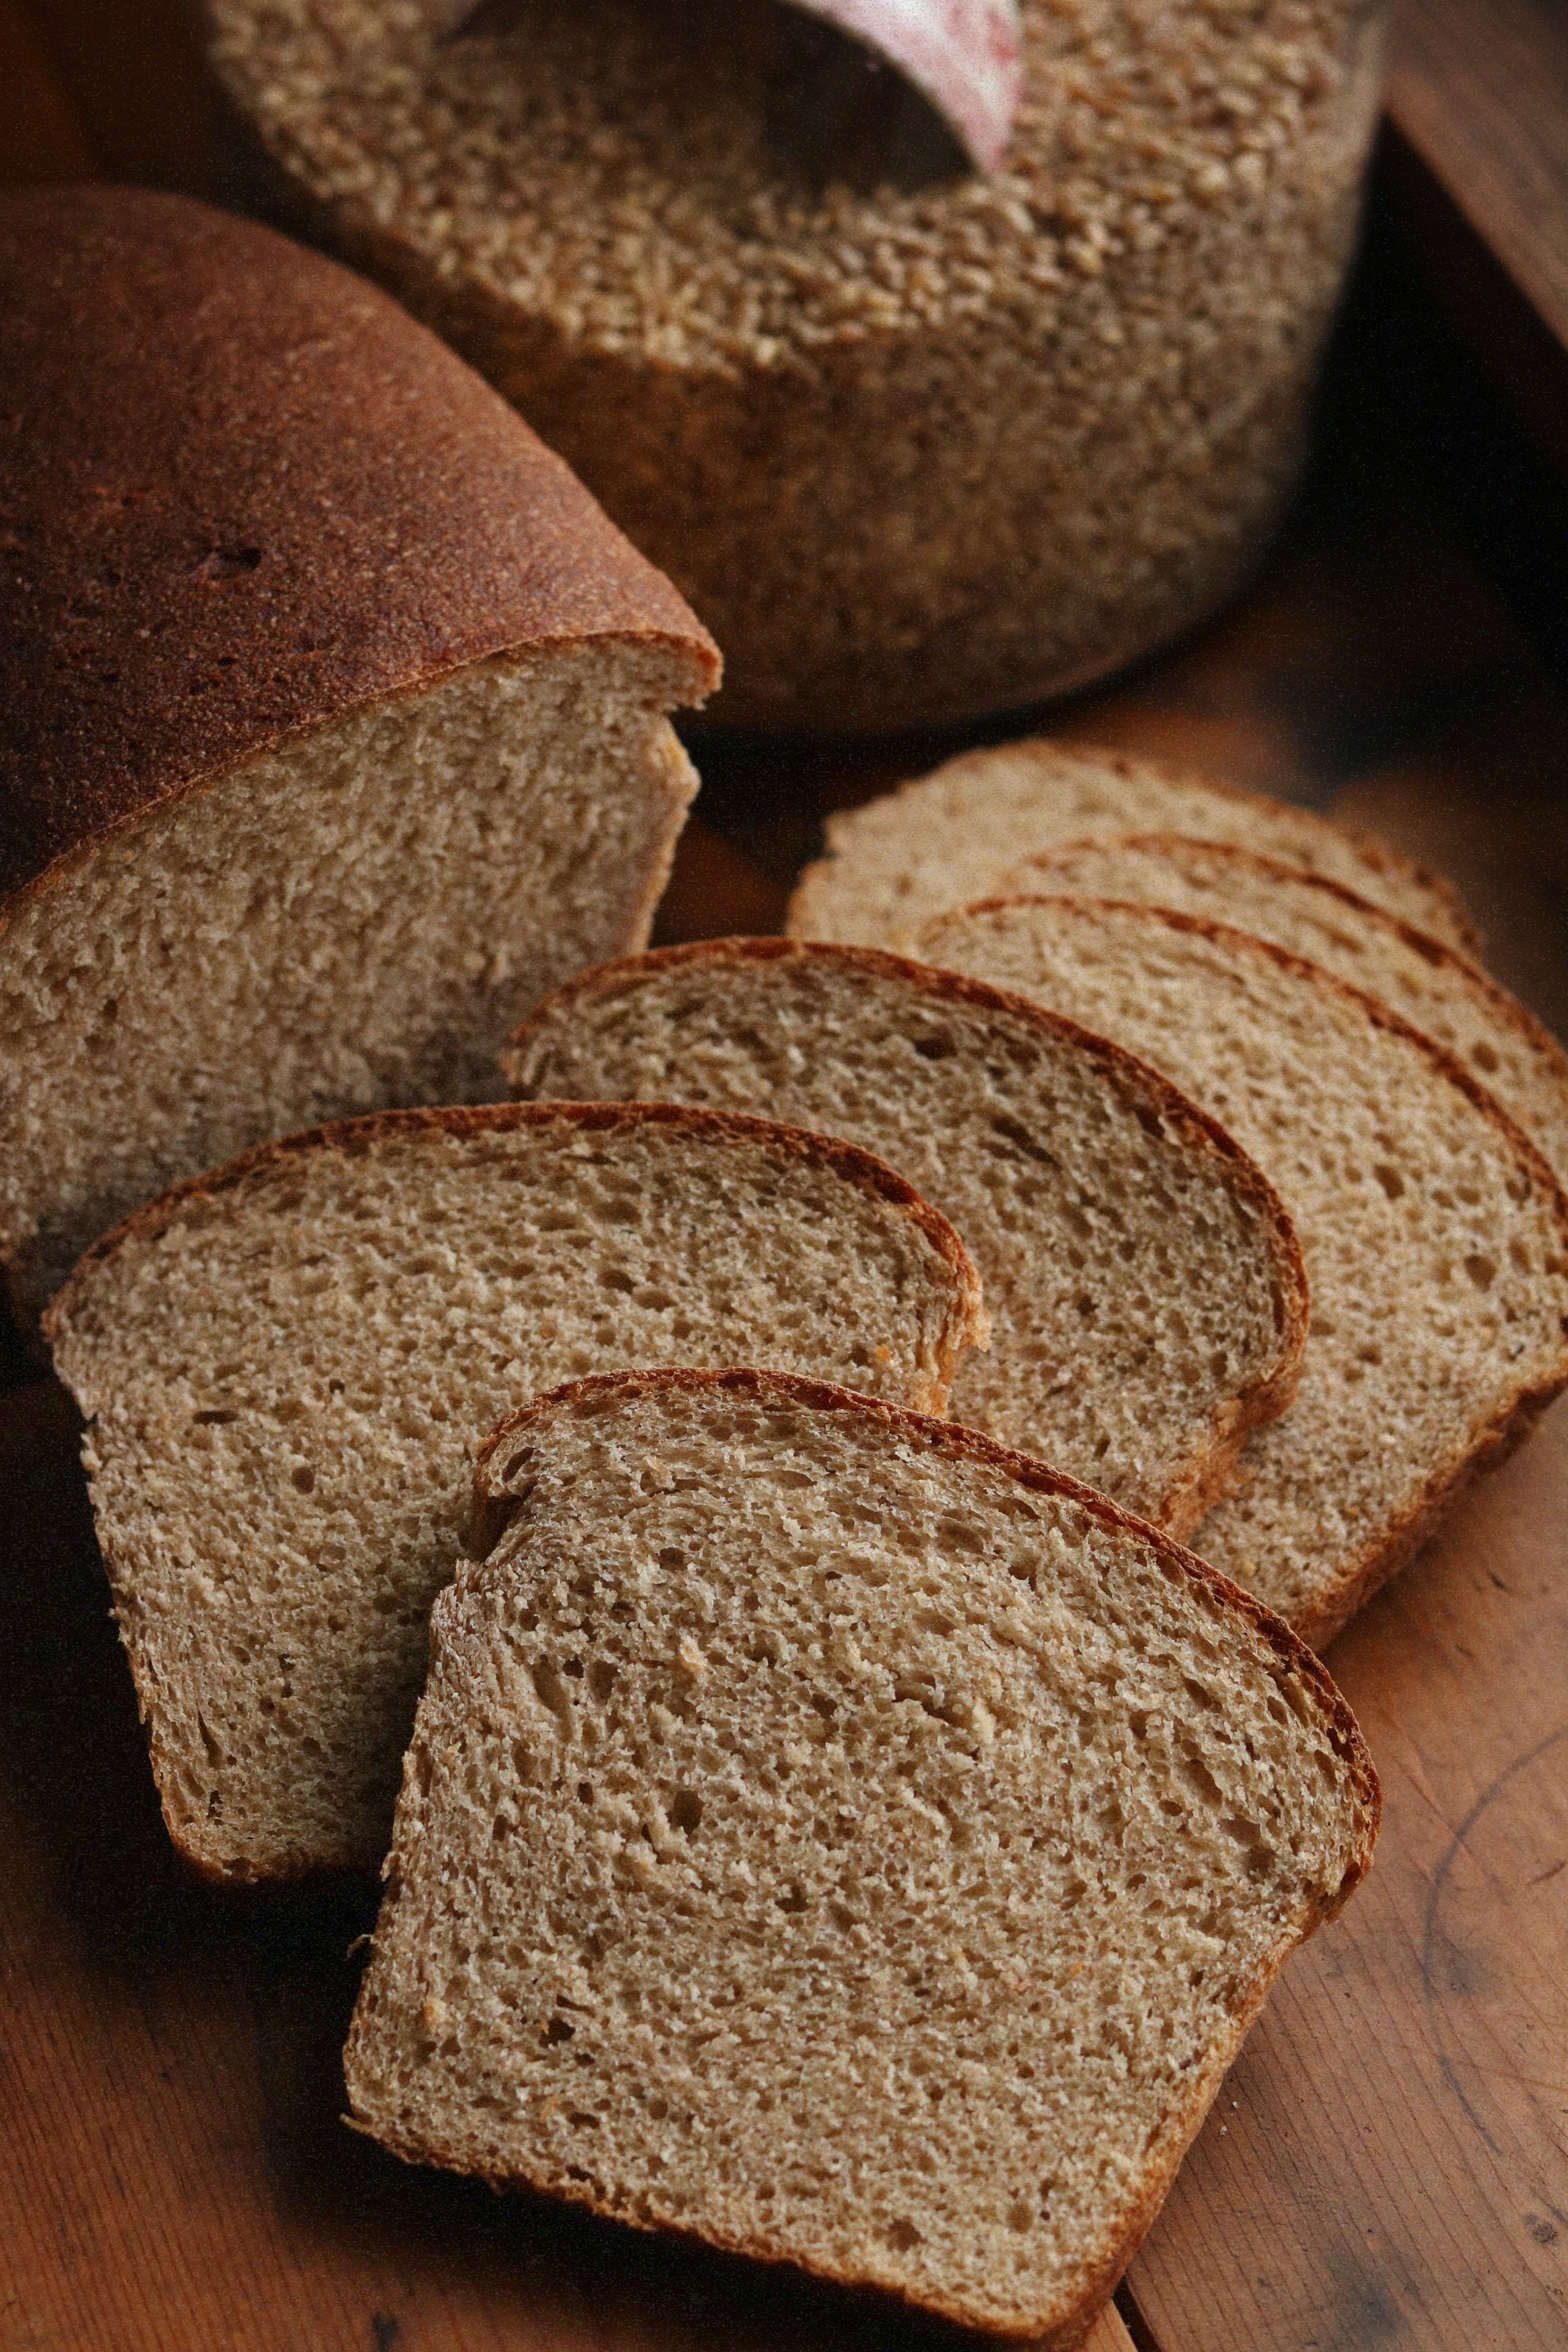
Since switching my kitchen to freshly milled flour, this has been the best version of sourdough sandwich bread that I have landed on. This recipe yields one loaf that is rich in nutrients and full of flavor. It’s truly guilt-free bread and picky toddler-approved. I like using a 50/50 blend of hard white wheat and hard red wheat for this recipe. I purchase my wheat berries in bulk from Azure Standard and bake from them all year.
baker’s schedule
day 1:
BEFORE BED: I like to keep the process of a sandwich loaf all in one day so I can keep an eye on the second rise and time it perfectly. So the night before I want to make a loaf, I remove my starter from the fridge and give it a feeding. Then I let it sit on the counter to rise and get all bubbly and active overnight.
day 2:
MORNING: As soon as I wake up, I mix together the dough, place in an oiled bowl, and cover. That will rise for 6-8 hours depending on how warm the house is.
AFTERNOON: The dough has doubled in size by the afternoon and I shape it and place it in a greased loaf pan for the second rise.
A FEW HOURS LATER: After an hour or two, the dough has risen above the loaf pan and is ready to bake. I pop it in the oven to bake and then let it cool for the rest of the evening before transferring to the breadbox for storage.
Keep in mind that during the summer when the house is really hot, this bakers schedule is more compact because the heat causes everything to rise faster, both the starter and the dough.
what you need:
1 cup of active, bubbly sourdough starter
1 cup of filtered water (room temp or slightly warm)
2 tablespoons of honey or cane sugar
2 tablespoons of neutral oil (lard, avocado oil, etc)
1 large egg
2 teaspoons of sea salt
450-500 grams of hard white and/or hard red wheat
Loaf pan
Mixing bowl and dough whisk or an electric stand mixer
to make
step 1:
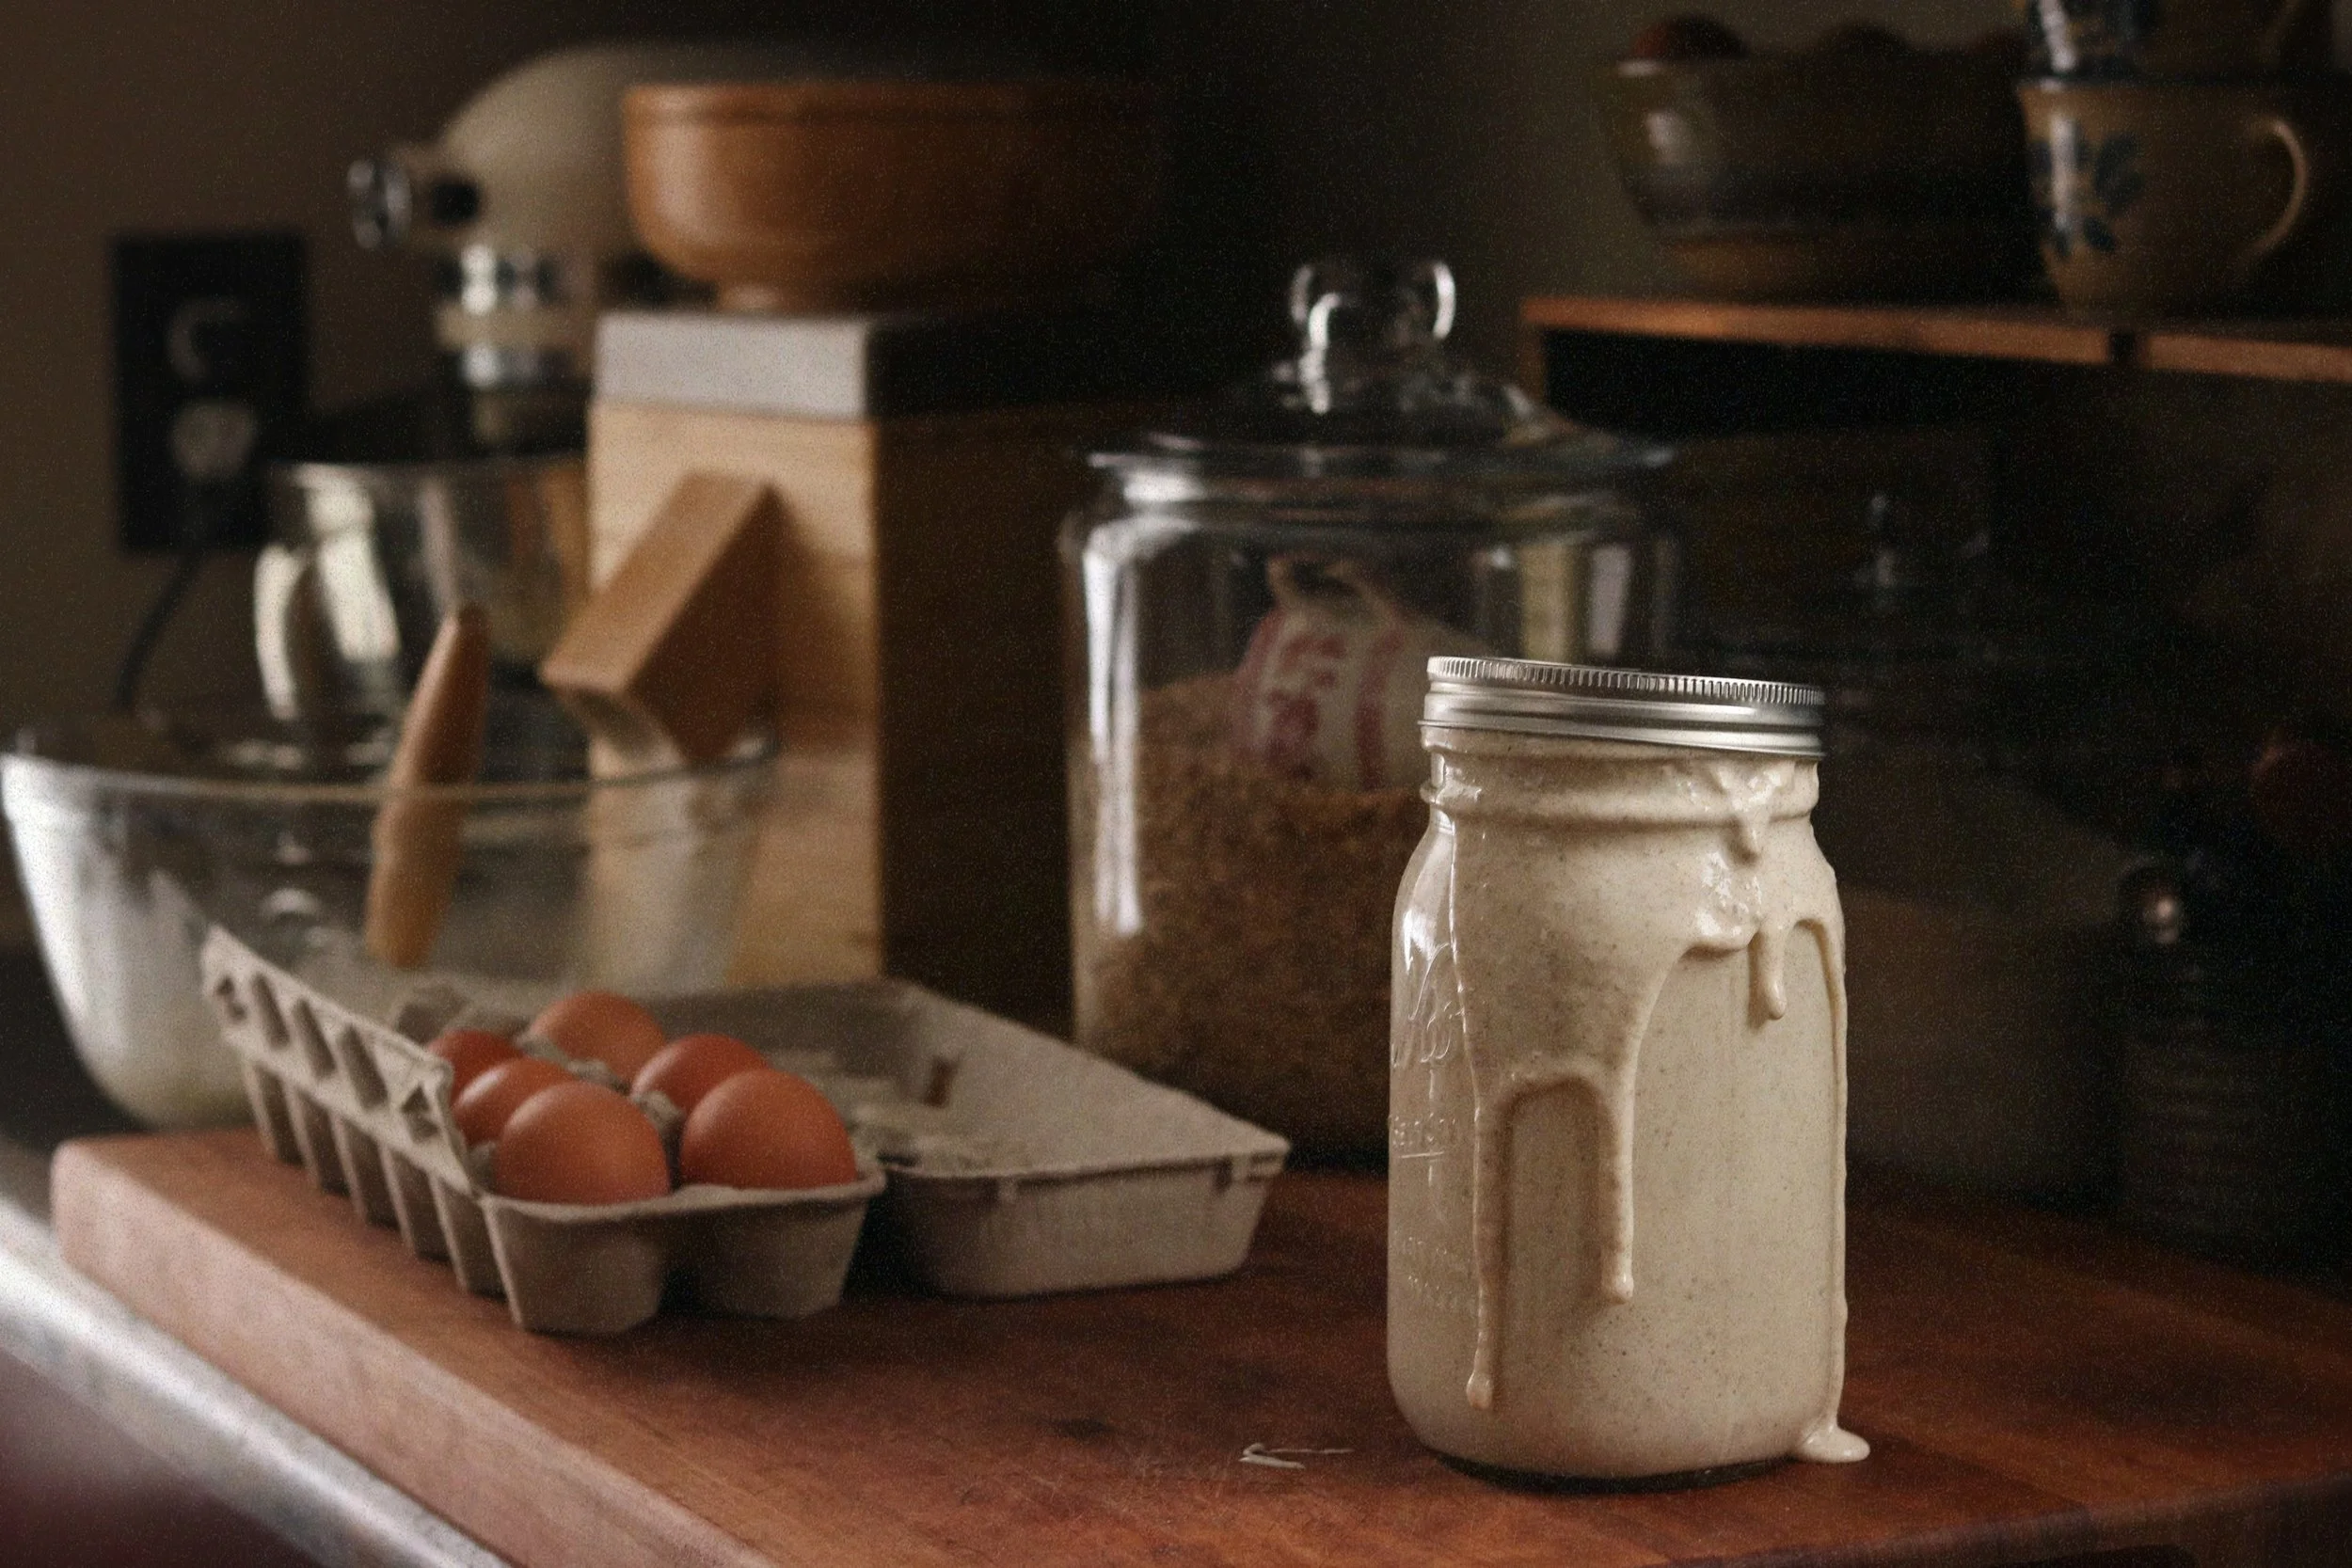
Begin by feeding your starter the night before you will be making your loaf. You want your starter to be active and bubbly for this recipe.
step 2:
The next morning once the starter has doubled, in a stand mixer with a dough hook or in a bowl by hand, combine the active sourdough starter, water, honey, oil, egg, and salt.
step 3:
Begin adding in the flour. I like to weigh out 450 grams of berries and mill them straight into the mixing bowl that has the wet ingredients. Mix everything until a shaggy dough is formed. Cover, and let sit for 30 minutes to allow the flour to hydrate. Upon returning to the bowl, if the dough is still too sticky to knead or perform stretch and folds, adding that 50 extra grams of flour may help. This will really depend on how hydrated your starter is, as well as the weather, so start with less and add more as needed.
step 4:
Form a ball and place the dough in an oiled bowl and cover with a wet tea towel. After 15 minutes, return to your dough to give it a stretch and fold. To do this, simply take one corner, stretch upwards and fold. Repeat with all corners until a new ball is formed. Continue stretching and folding every 15 minutes for the next hour. Stretching and folding strengthens the gluten strands in the dough and gives you a nice crumb.
step 5:
You will notice that after a few stretch-and-folds, your dough is now smooth and no longer as sticky. Form it into a final ball and leave it seam side down in your oiled bowl. You will now leave the dough to bulk ferment. It is during this time that it will get light, airy, and active, doubling in size. It’s important not to overproof this dough, or else it won’t double in the second rise. Typically I’ll do about 6-8 hours for the first rise and 1-3 hours for the second rise, depending on the time of the year and the temperature.
step 6:
After the bulk ferment, your dough should be doubled in size with strong gluten strands. Turn the dough from the bowl onto a clean surface and pat down into a rectangle. No need to be gentle with this step. Unlike a rustic loaf, you don’t want any air bubbles in this dough or else I find the loaf explodes in the oven. There are a few ways to shape a sandwich loaf. I like to fold a large rectangle into thirds and then roll it into a sandwich loaf shape. Tuck the corners under a bit and build some tension by pushing it away and back towards you.
step 7:
Place the dough seam-side down in a greased loaf pan. Cover with a damp tea towel and set aside for the second rise.
step 8:
Allow the dough to rise over the lip of the loaf pan by an inch or two. This will take an hour to a couple hours depending on the time of the year and how humid/hot the house is. Once you see the loaf rising, preheat your oven to 350°F.
step 9:
Once the oven is preheated bake for 35-45 minutes or the internal temperature reaches 200°F-210°F. Remove from the oven and gently shake the loaf out of the pan. Allow to cool for at least an hour before diving in. This is such an important step, as bread continues to bake once it is removed from the oven and will ensure the best crumb if cooled completely.
step 10:
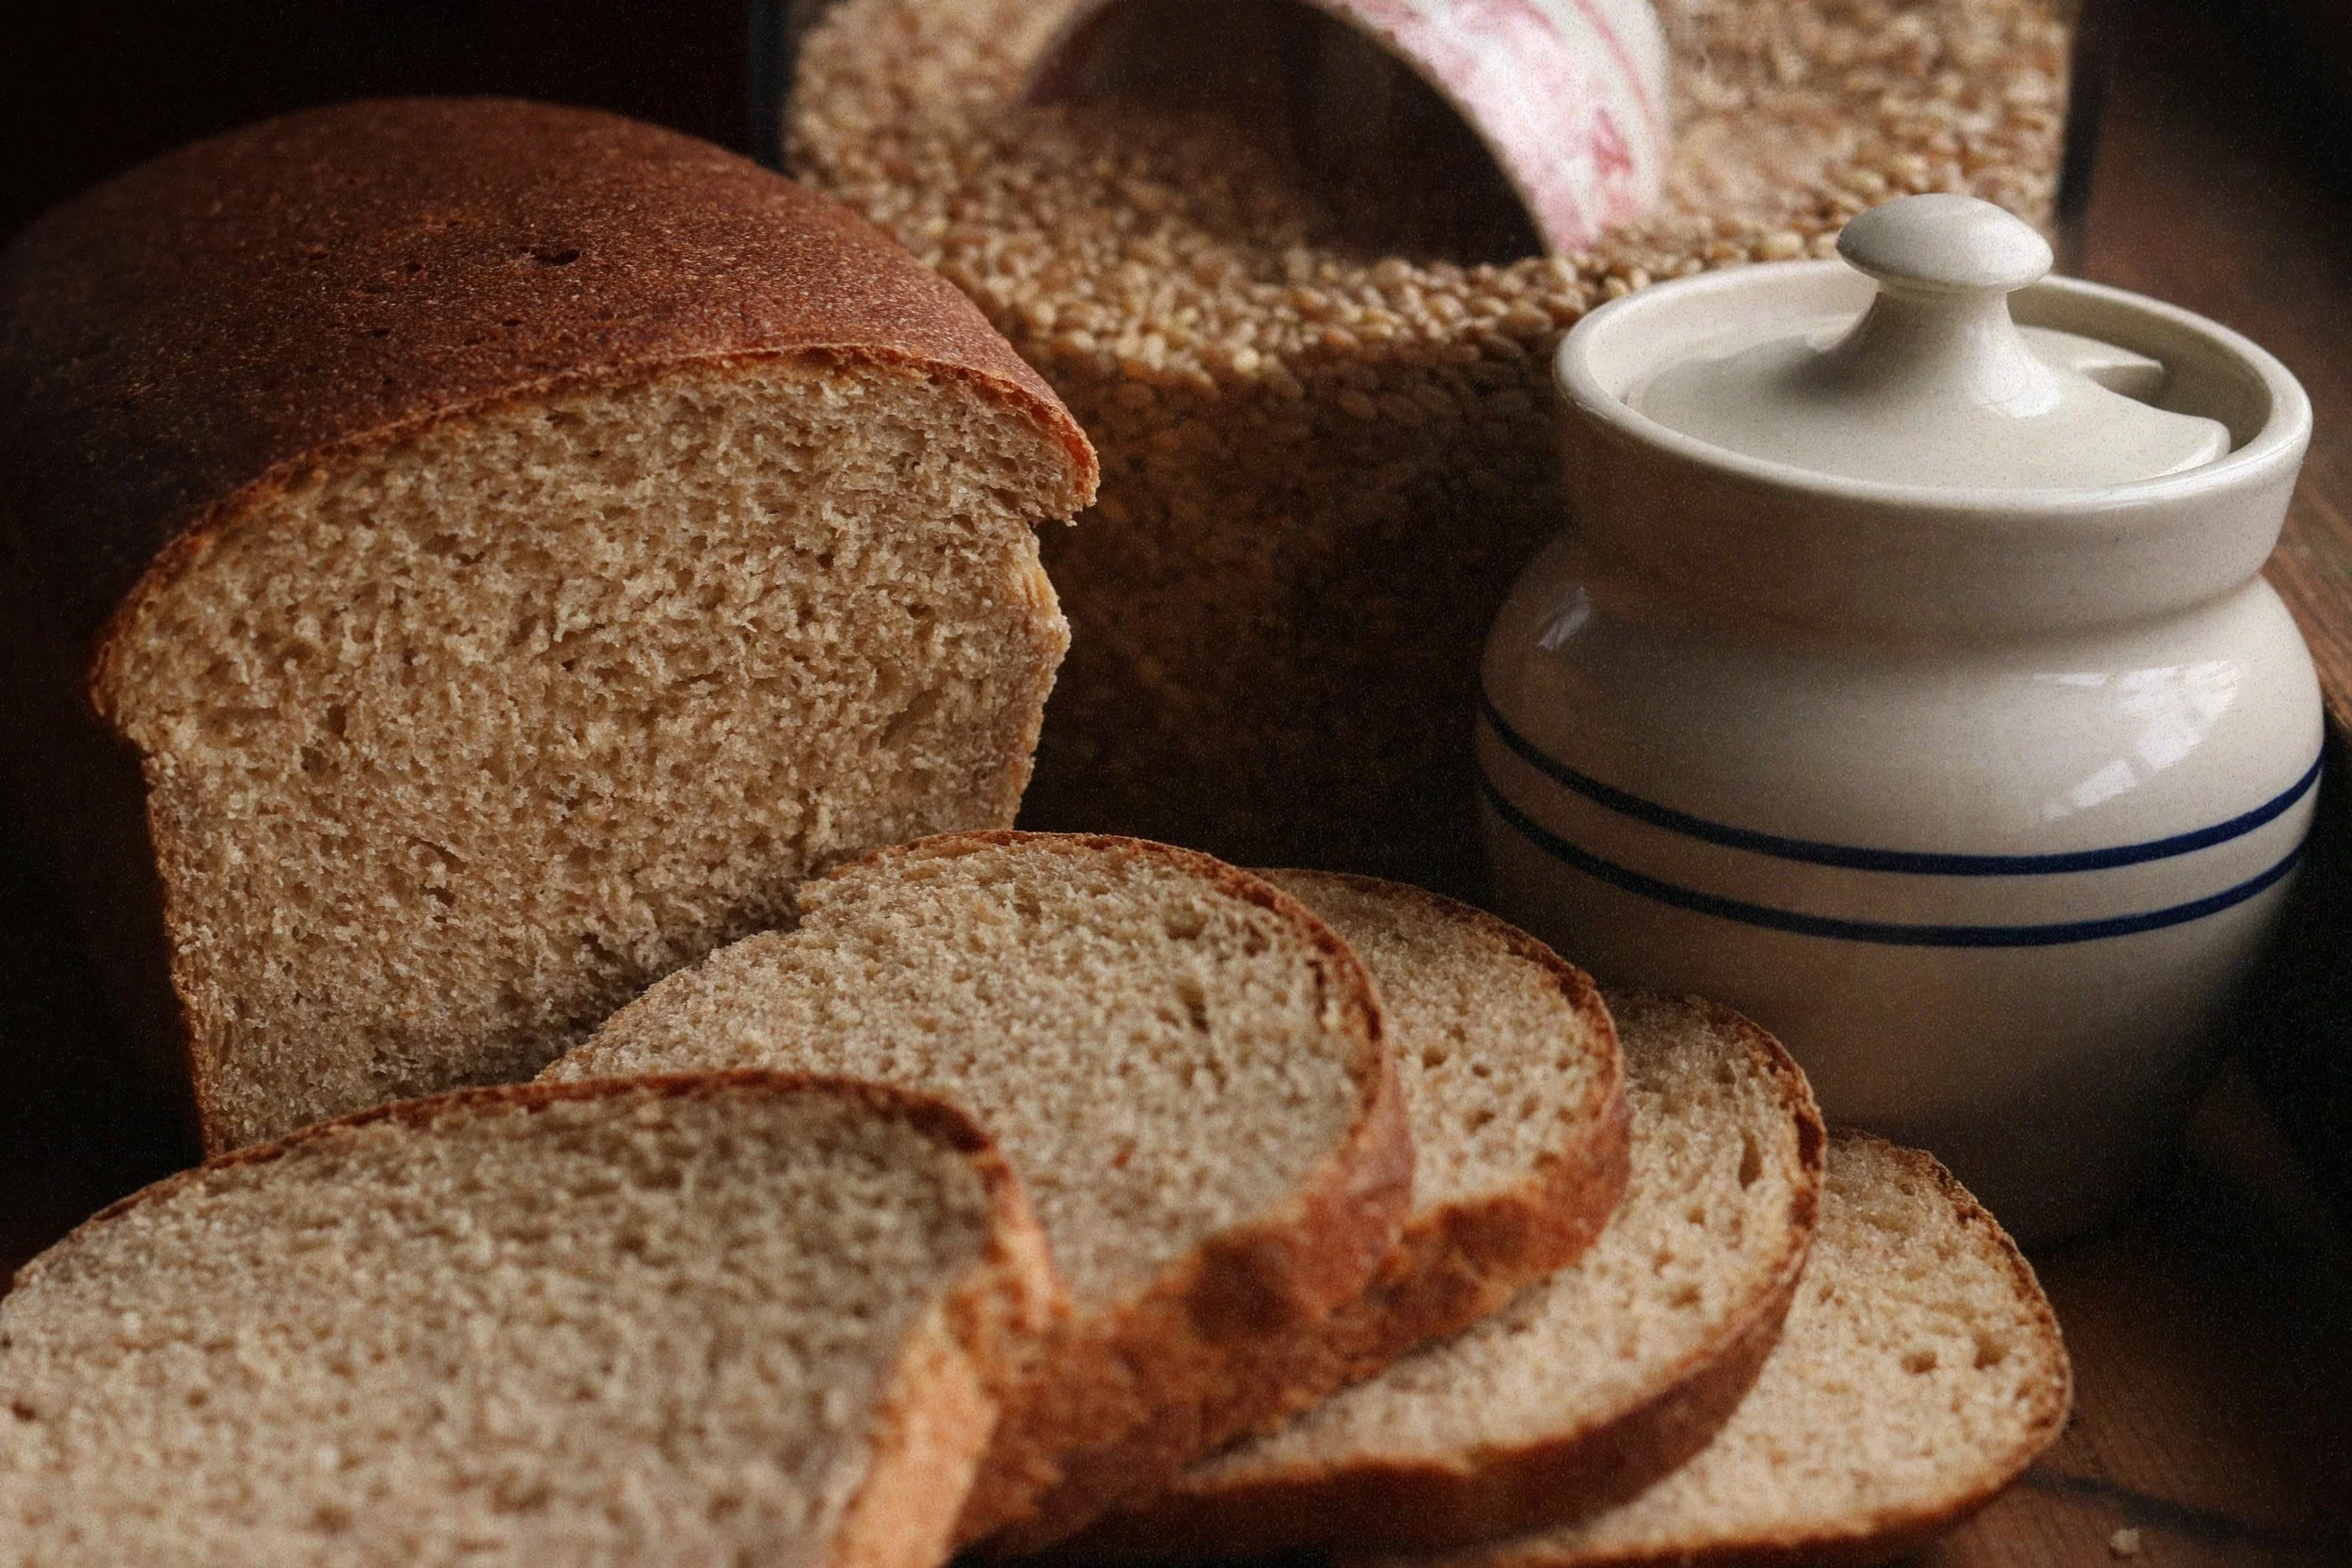
Store in a breadbox for fresh keeping or slice and freeze for later use. Enjoy!
“Blessed shall be your basket and
your kneading bowl.”
more Fresh Milled Flour Recipes…


This post contains affiliate links